


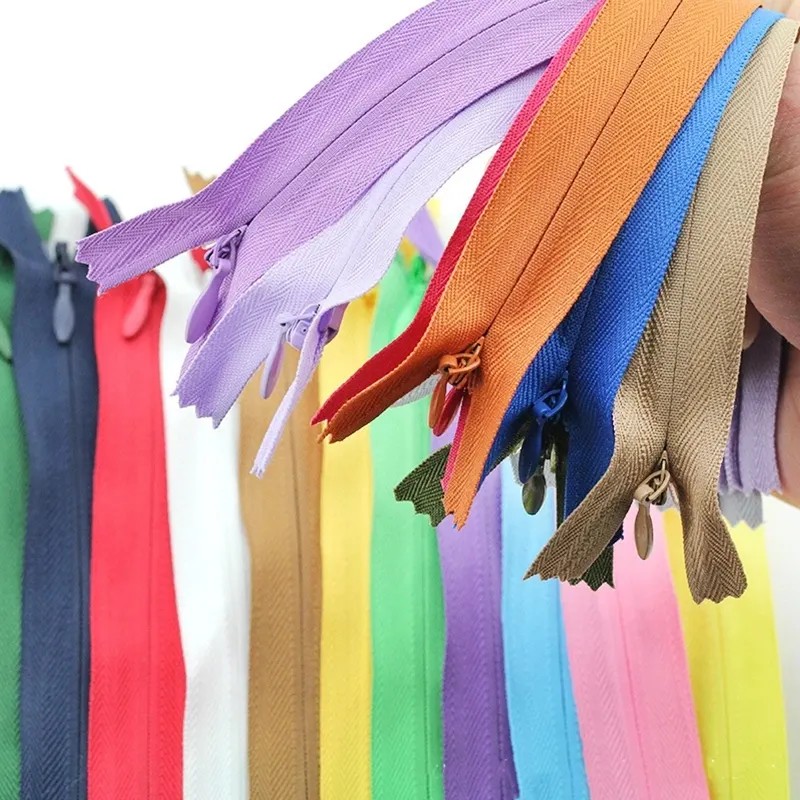
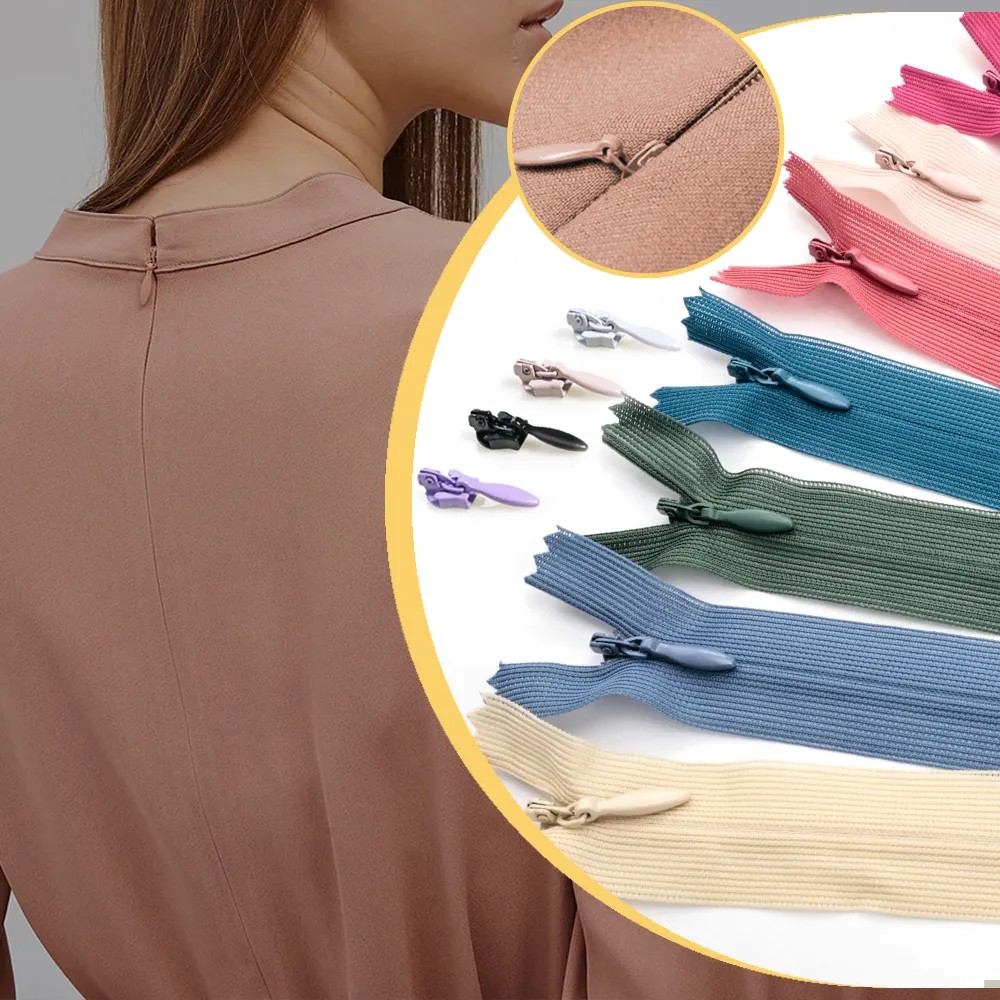
The invisible zipper‘s lace edge vs. the fabric band edge
The “edge” of the invisible zipper refers to the band-like part on both sides of the zipper teeth. Depending on the material and purpose, it is mainly divided into two types: lace edge and fabric band edge.

| Material | Made of mesh lace fabric | Made of dense woven fabric similar to regular zippers (usually polyester or nylon). |
| Appearance | Exquisite, elegant, feminine; it is itself a form of decoration. | Low-key, plain; designed to be completely “hidden” |
| Transparency | Usually semi-transparent or with open patterns | Non-transparent |
| Main applications | High-end women’s clothing: wedding dresses, formal gowns, evening wear, dresses, half-length skirts. Underwear: bras, shaping garments. Apparel that requires zippers as a design element. |
Daily wear: dresses, half-length skirts, pants, shirts. Home goods: throw pillows, cushions. Any situation that requires complete invisibility and no trace. |
| Advantages | Decorative, enhancing product grade and aesthetics. | Excellent concealment effect; the zipper itself is hardly visible after being sewn to the fabric. |
| Disadvantages | Relatively low strength; not suitable for areas subjected to heavy force | Poor decorative nature; purely functional |
| Features | Invisible zipper with lace edge | Invisible zipper with fabric edge |
Summary: The choice between lace edge and fabric edge mainly depends on design requirements.
- If you want the zipper to become part of the decoration, choose the lace edge.
- If you just want the zipper to function but don’t want it to be visible at all, then choose a fabric edge.
2. The Relationship Between Invisible Zippers and Nylon Zippers
You are absolutely correct. Invisible zippers are an important branch and type of nylon zippers.
This is how their relationship can be understood:
- Nylon Zipper: This is a broad category, referring to all zippers whose teeth are formed by spiral winding of nylon monofilaments. Its characteristics are softness, lightness, and flexibility.
- Invisible Zipper: This is a specific type of nylon zipper. It features a unique design of nylon teeth and an installation method, ensuring that after the zipper is closed, the teeth are concealed by the fabric and cannot be seen from the front. Only a seam can be seen.
Simple analogy:
- Nylon zippers are like “fruits”.
- Invisible zipper is like “Apple”.
- All “apples” are “fruits”, but “fruits” are not just “apples”; they also include bananas and oranges (that is, other types of nylon zippers, such as closed-end zippers, open-end zippers, double-headed zippers, etc.).
Therefore, the teeth of the invisible zipper are made of nylon, but it achieves the “invisible” effect through a unique design.
3. Precautions for using invisible zippers
When using invisible zippers, certain special techniques are required; otherwise, the zipper may fail to function properly (become bulging, expose teeth, or get stuck).
1.Special pressure feet must be used:
- This is the most important point! Ordinary zipper foot cannot handle the unique curled teeth of invisible zippers.
- At the bottom of the invisible zipper foot, there are two grooves which can hold the teeth of the zipper and guide the sewing thread to run closely beneath the root of the teeth, ensuring that the zipper is completely invisible.
2.Ironing out the teeth of the zippers:
- Before sewing, use a low-temperature iron to gently smooth out the teeth of the zipper (with the teeth facing downwards and the fabric strip facing upwards).
- By doing this, the chain teeth will naturally spread apart to both sides, becoming smooth and easier to stitch into straight and snug lines.
3.First sew the zipper, then sew the main seam:
- This is the opposite step to the usual sequence of attaching a regular zipper.
- Correct sequence: First, sew the openings of the clothes apart and iron them flat. Then, stitch the two sides of the zippers onto the left and right seams respectively. Next, fully pull up the zippers. Finally, use a regular straight stitch to sew the main seam of the garment below the zippers together.
- This sequence ensures that the bottom of the zipper and the main seam line align perfectly, without any misalignment.
4.Loose seam / needle fixation:
- Before sewing, first use a needle to securely pin it vertically or use a loose thread to temporarily fix it, ensuring that the zipper is aligned with the fabric and will not shift during the sewing process.
5.Sewing techniques:
- Place the zipper puller behind (on the right) and start sewing. This makes it easier to operate.
- When sewing, use your hand to gently push the zipper teeth away from the indentation of the presser foot in the opposite direction, so that the needle can be as close as possible to the root of the teeth and the sewing line.
- When approaching the pull tab, stop stitching, raise the presser foot, pull up the pull tab, and then continue stitching to avoid the pull tab getting in the way.
6.Choose the appropriate zipper:
- Choose the zipper model based on the thickness of the fabric (such as 3#, 5#). Thin fabrics use fine-toothed zippers, while thick fabrics use coarse-toothed zippers.
- The length should be as long as possible rather than short. It can be shortened, but it cannot be lengthened.
Post time: Aug-29-2025


